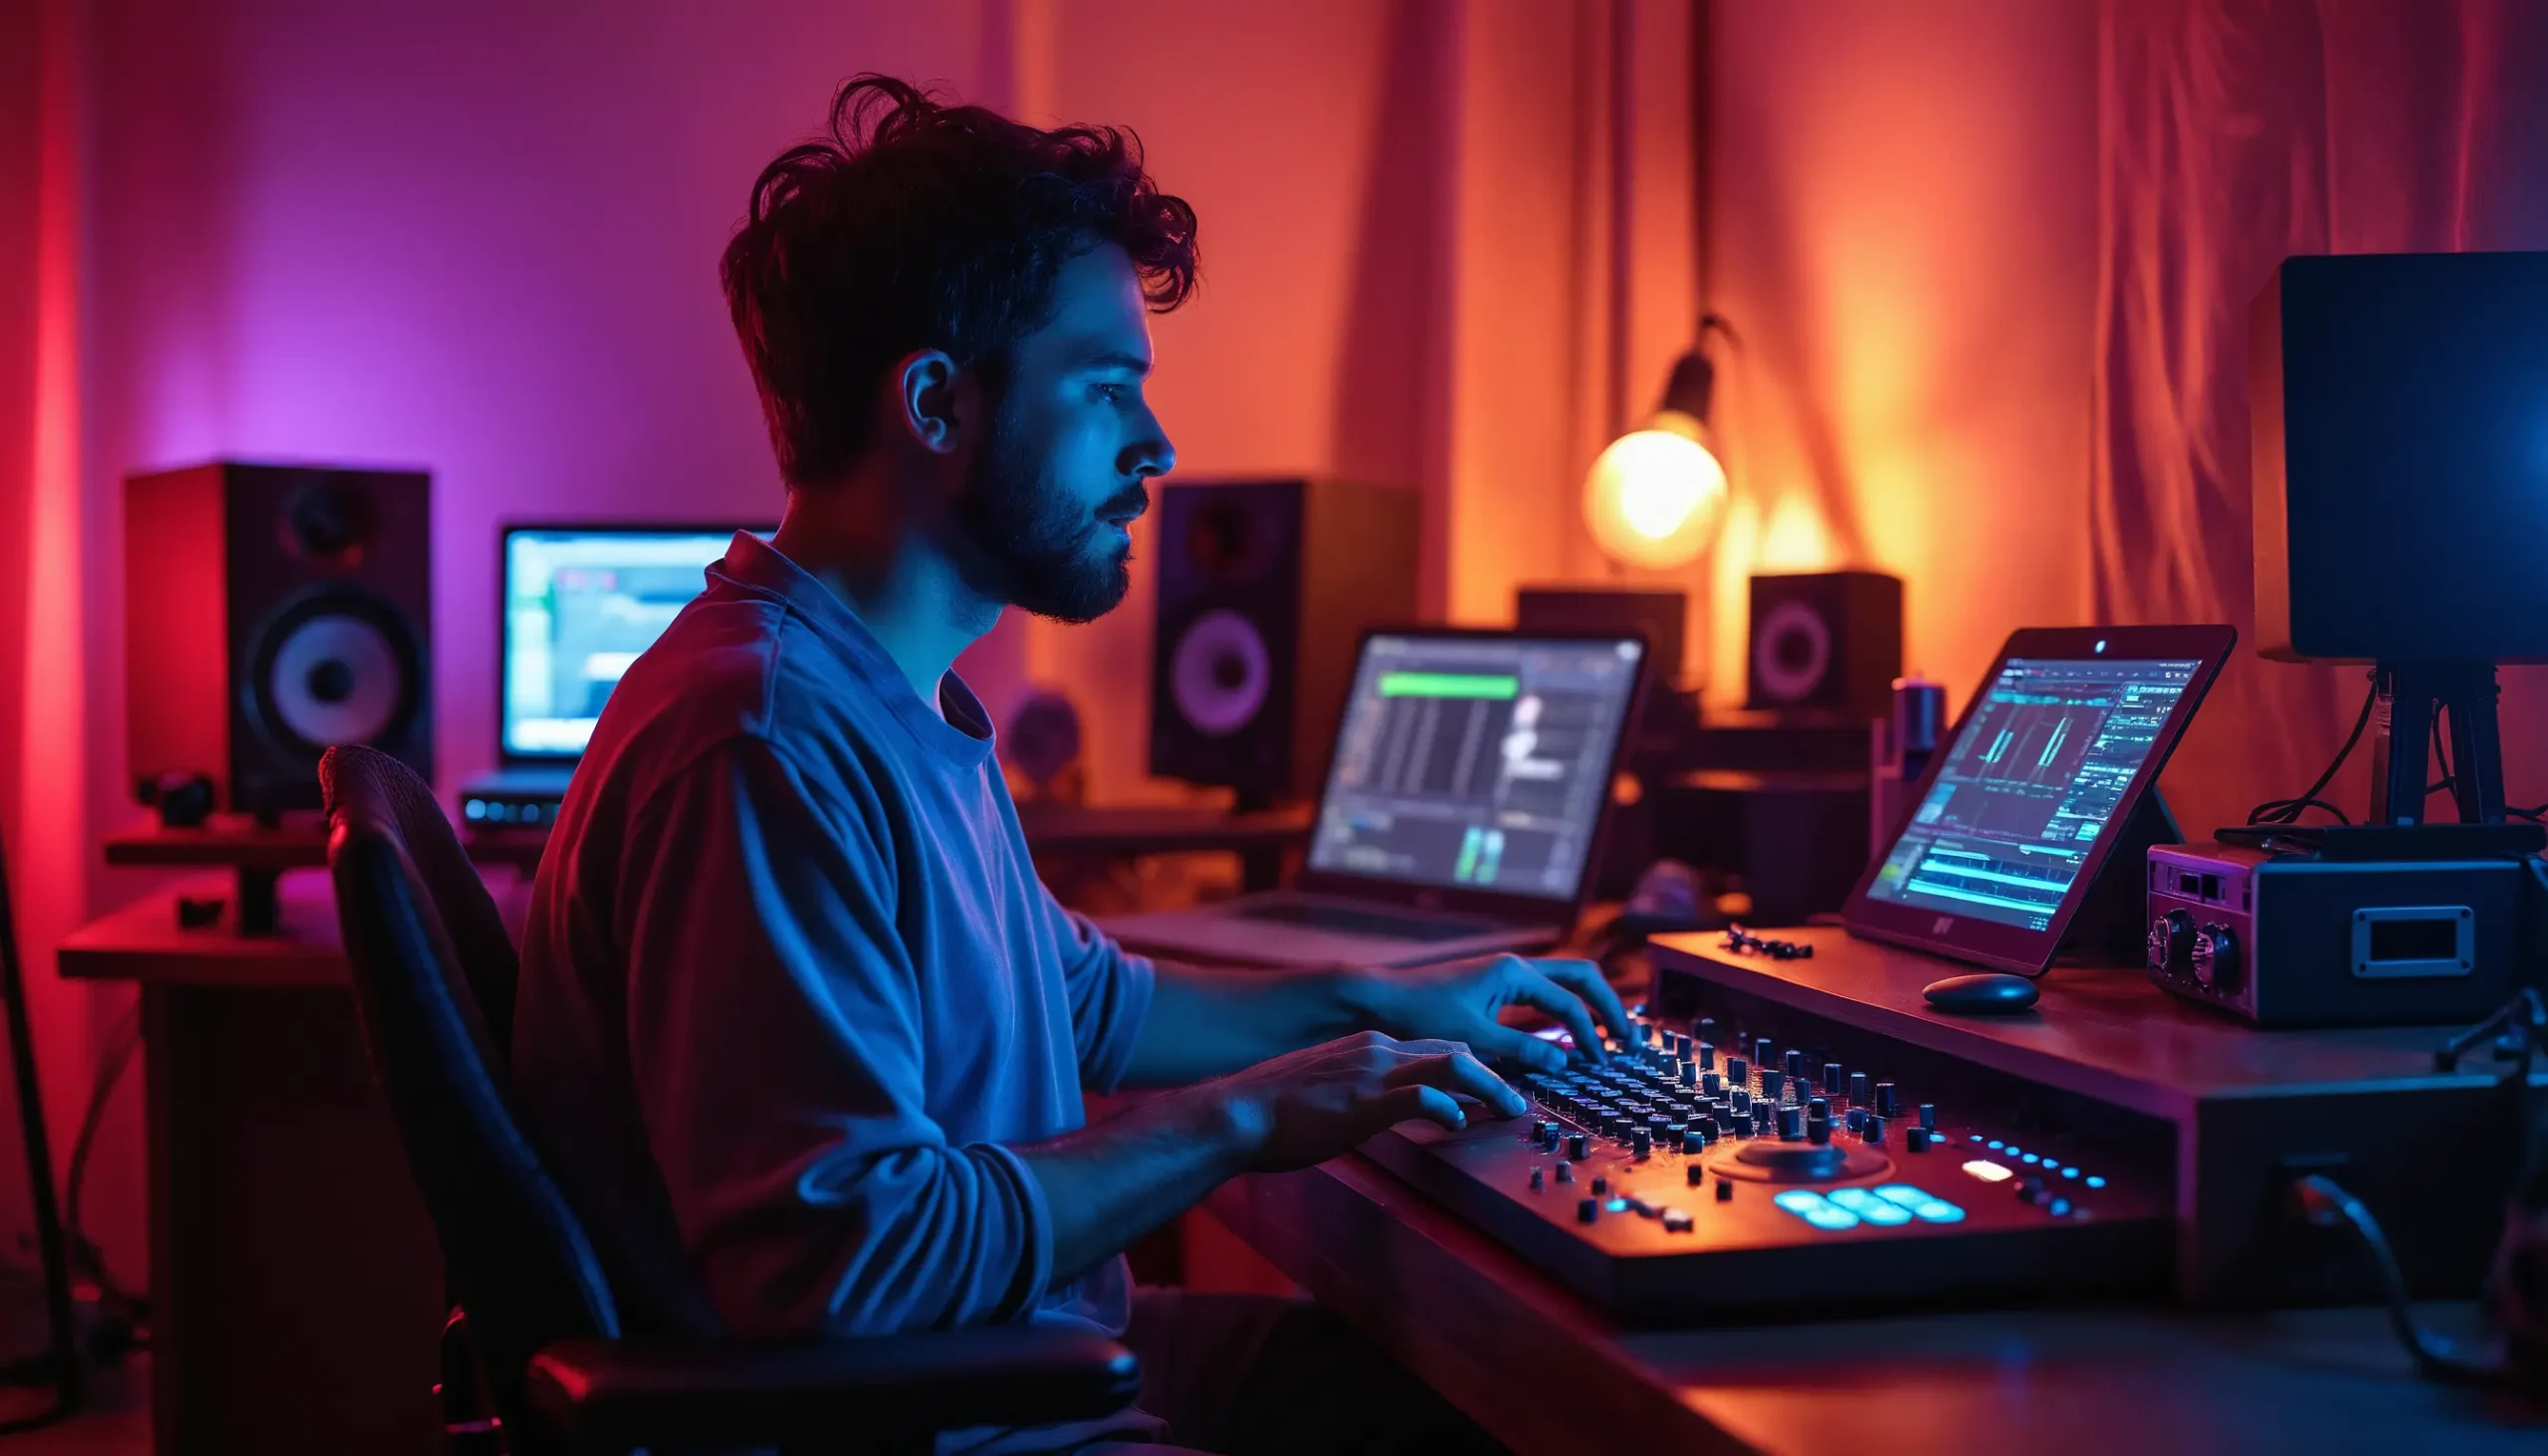
The tools I use for audio production
(and how I try not to get in my own way)
This post isn’t about flexing a plugin folder.
It’s about understanding how I actually work, why I’ve ended up with this setup, and what helps me move ideas from “that sounded promising” to something that’s actually finished.
Writing this has also been a bit of a self-audit. Not to fix everything. Just to see what’s doing the heavy lifting — and what’s just along for the ride.
If it helps fellow audio creators reflect on their own workflow, even better. Sharing knowledge is still one of the best side effects of doing this stuff.

First rule: learn the tools you already have
Over the last couple of years, one thing has become very clear to me:
Learning a tool properly gets you much further than constantly switching.
Most modern DAWs and plugins are more than capable. The real gains come from depth, not novelty. My setup exists for one main reason:
👉 Capture ideas while the flow is there.
Everything else is secondary.

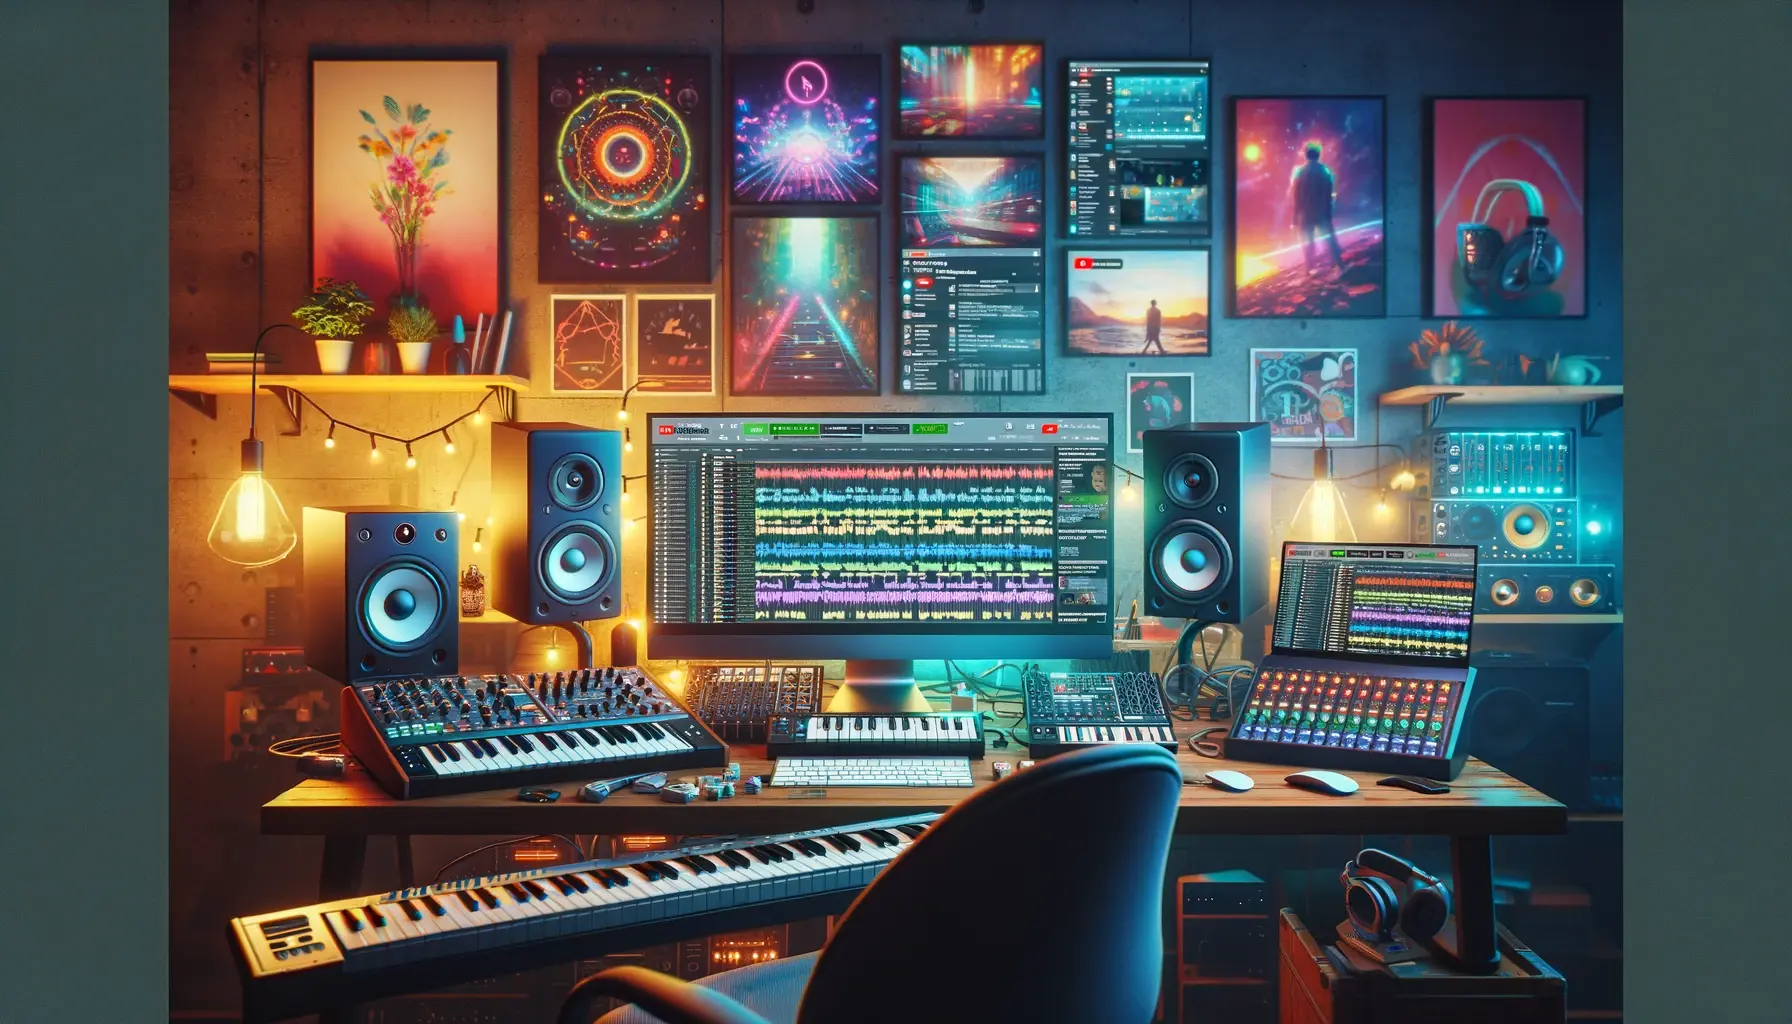
Controllers: reducing mouse damage
My main controllers are:
- Ableton Push 3
- Native instruments Komplete Keyboard(I am at heart a keyboard player)
- Behringer X-Touch
- A foot pedal mapped to clip recording
Push 3 is the heart of the system. Ableton’s stock devices, automation, and overall integration just work brilliantly with it. It keeps things physical, fast, and musical.
The foot pedal is the quiet hero here. Being able to trigger clip recording without taking my hands off the controller keeps ideas alive. It sounds like a small thing — until you try working without it again.
Hardware exists for one reason only:
to keep you out of menus.
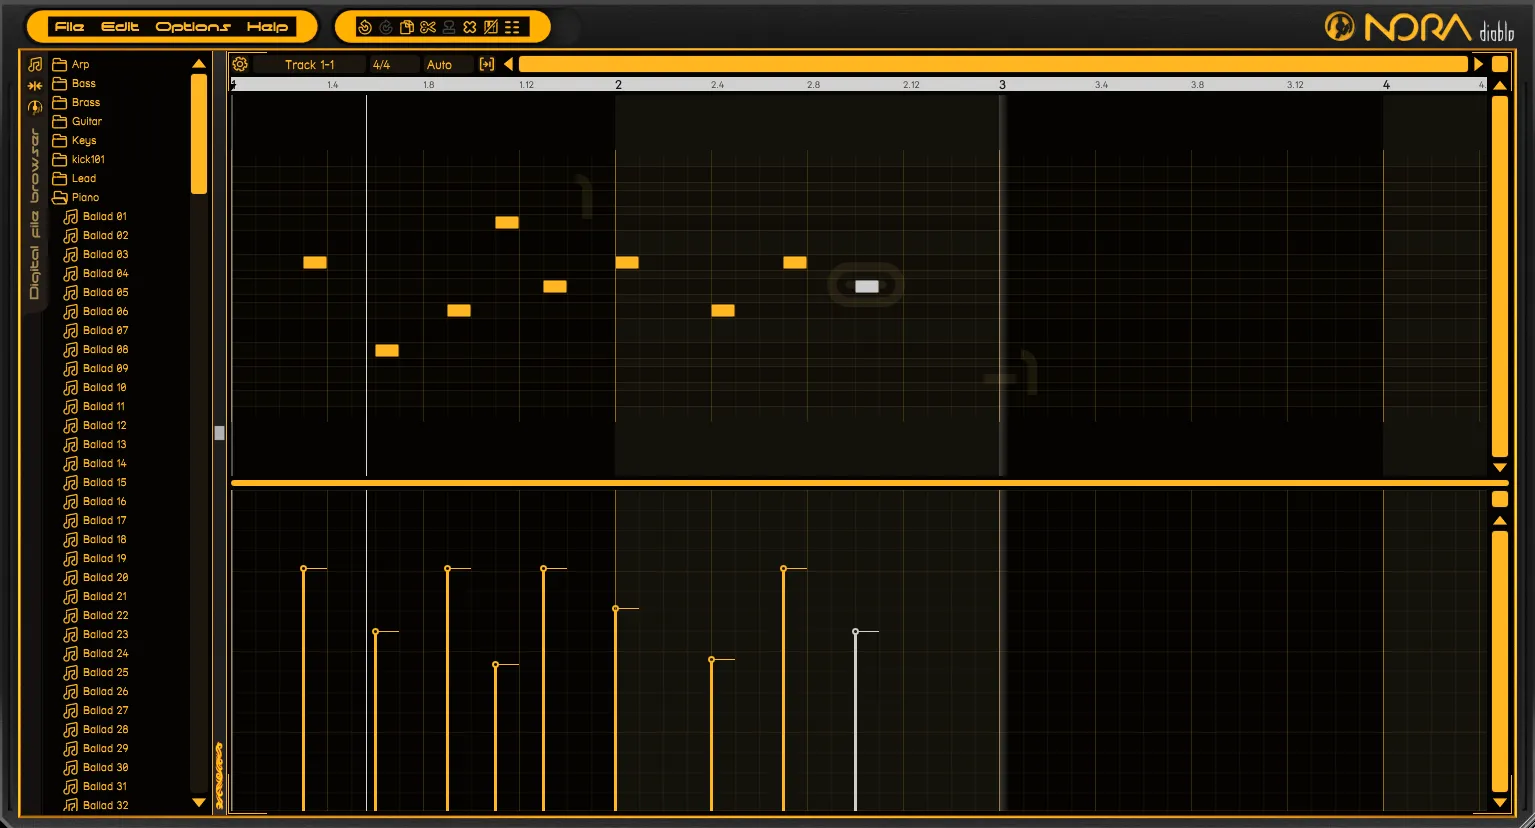
How a track usually starts (hint: not with a perfect loop)
Most tracks start with sound.
I’ll often browse presets in Omnisphere, Diva, Pigments, Vital or similar until something sparks an idea. A good preset in context beats a clever patch in isolation every time.
From there, I improvise in Ableton Live’s Clip View, using a starting template.
A few important details:
- I usually don’t fix clip length at first
- I play parts in manually
- Timing issues come later
- Structure comes much later
Sequencers are great, but they’re not the starting point. I’d rather capture something alive and slightly messy than perfectly timed and boring.
Yes, I often record too much.

That’s fine. Cleaning up later is easier than recreating a moment that never got recorded.

Sound selection is composition
A big part of my early workflow is simply finding sounds that work well together.
I spend time on this while improvising — not later in the mix. If sounds don’t coexist naturally early on, they won’t magically behave later just because you added more plugins.
This is also why I try to stay inside Ableton Live in the early phase:
- Stock instruments
- EQ Eight
- Simple dynamics
- No clever chains
- No third-party rabbit holes
Ableton Live has a ton of great built-in effects and synths. They’re fast to set up, easy to automate, and work perfectly with Push.
There’s rarely a good reason to reach for third-party plugins while the track is still figuring out what it wants to be.
Complexity is easy.
Restraint takes work.

The Ableton template: boring on purpose
My Live template is deliberately limited.
8 main tracks → 8 busses
- Bass
- Drums
- Atmos
- Pads
- Keys
- Synth
- Arp / Melodic
- FX
That’s it.
If something doesn’t fit, it probably doesn’t belong yet. This setup keeps decisions manageable and stops me from building tracks out of unrelated “cool ideas”.
Why Ableton Live (and why I don’t force it to do everything)
I’ve been an Ableton Live user since version 3 or 4. Before that: Cubase and Emagic Logic on Atari, later Reason, and more recently Bitwig Studio.
Live stuck because the workflow fits how I think musically. Today it gives you everything you really need to create a track.
That said, I don’t believe in forcing one tool to do everything.
When the arrangement in Live is done, I usually:
- Convert all tracks to audio
- Or export stems
From there, I move to Cockos Reaper.

Reaper: the adult room
In reaper its where it gets serious. Mixing, mastering and once in a while some Dolby Atmos stuff.
I initially started using Reaper on Windows when Ableton struggled with some synths and effects. What made Reaper stick was everything else:
- Extremely efficient CPU/RAM usage
- Ridiculously fast rendering
- A powerful Actions system
I’ve built custom actions that:
- Convert all tracks to audio
- Automatically create a new subproject
- Set up mix → mastering workflows
- Handle Dolby Atmos mixing
So I hit button and these actions does all the work for me. Extremely effective workflow.
Reaper is flexible, fast, and brutally efficient.
It’s also not beginner-friendly, and the GUI is… dated. Luckily, you can change almost everything if you care enough.
Different tools, different mindsets.

dBDone: saving ideas when the DAW is closed
One of the most important tools in my setup doesn’t make any sound at all.
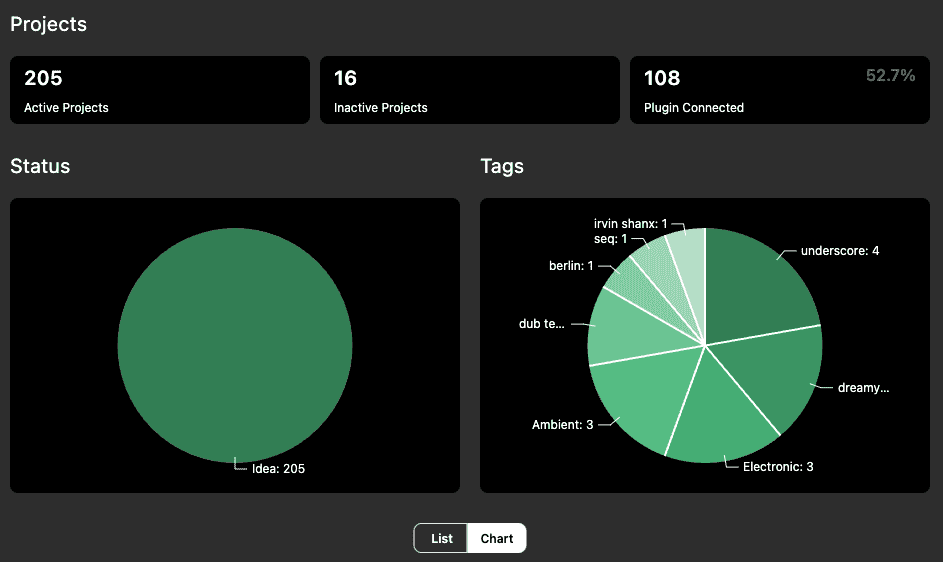
I use dBDone to maintain my projects:
- Gathering sketches
- Sorting ideas
- Managing unfinished tracks
- Planning releases
- Keeping overview in daily work
In short: it prevents ideas from disappearing into forgotten folders.
For me, dBDone acts as a project hub outside the DAW. It separates creating from organising — something DAWs are famously bad at.
My typical flow looks like this:
- Create and improvise in Ableton
- Bounce or export sketches
- Organise, tag, and track them in dBDone
- Revisit later with fresh ears
It reduces mental clutter and makes long-term projects manageable. For someone with lots of ideas and ongoing concepts, this is essential.
Some tools help you create.
Others help you not lose what you’ve already created.

The plugin zoo (used with intent, not faith)
Yes, I use a lot of third-party plugins. No, they’re not all loaded all the time.
Roughly speaking:
- Sound sources: Omnisphere, Diva, Pigments, Native Instruments Kontakt, Vital, Dawesome instruments
- Movement: Stepic, ShaperBox, Arturia FX Motions
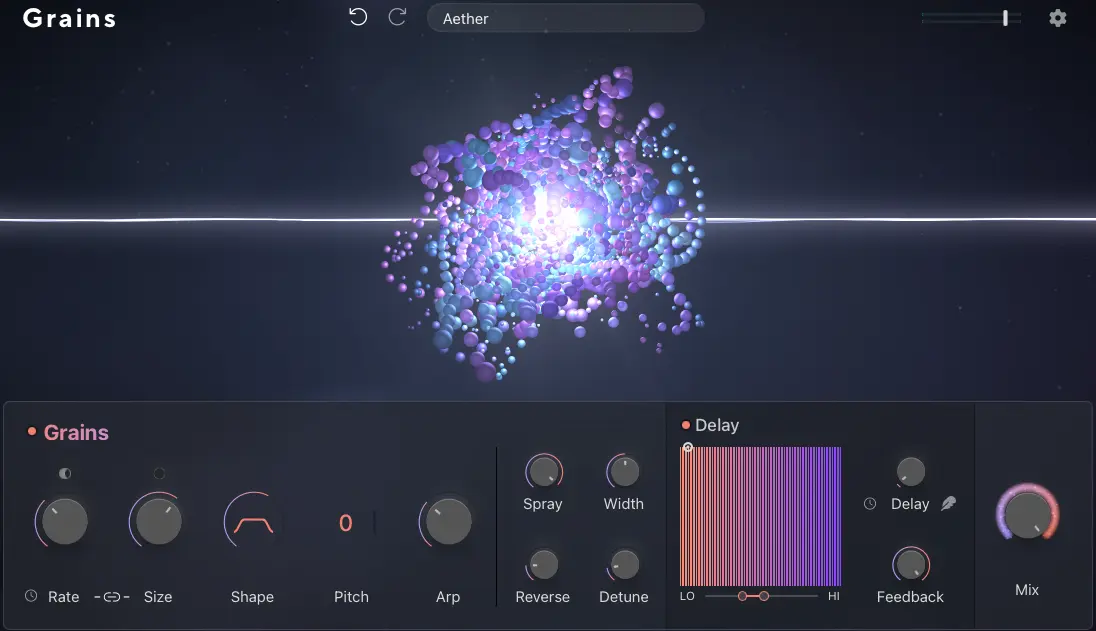
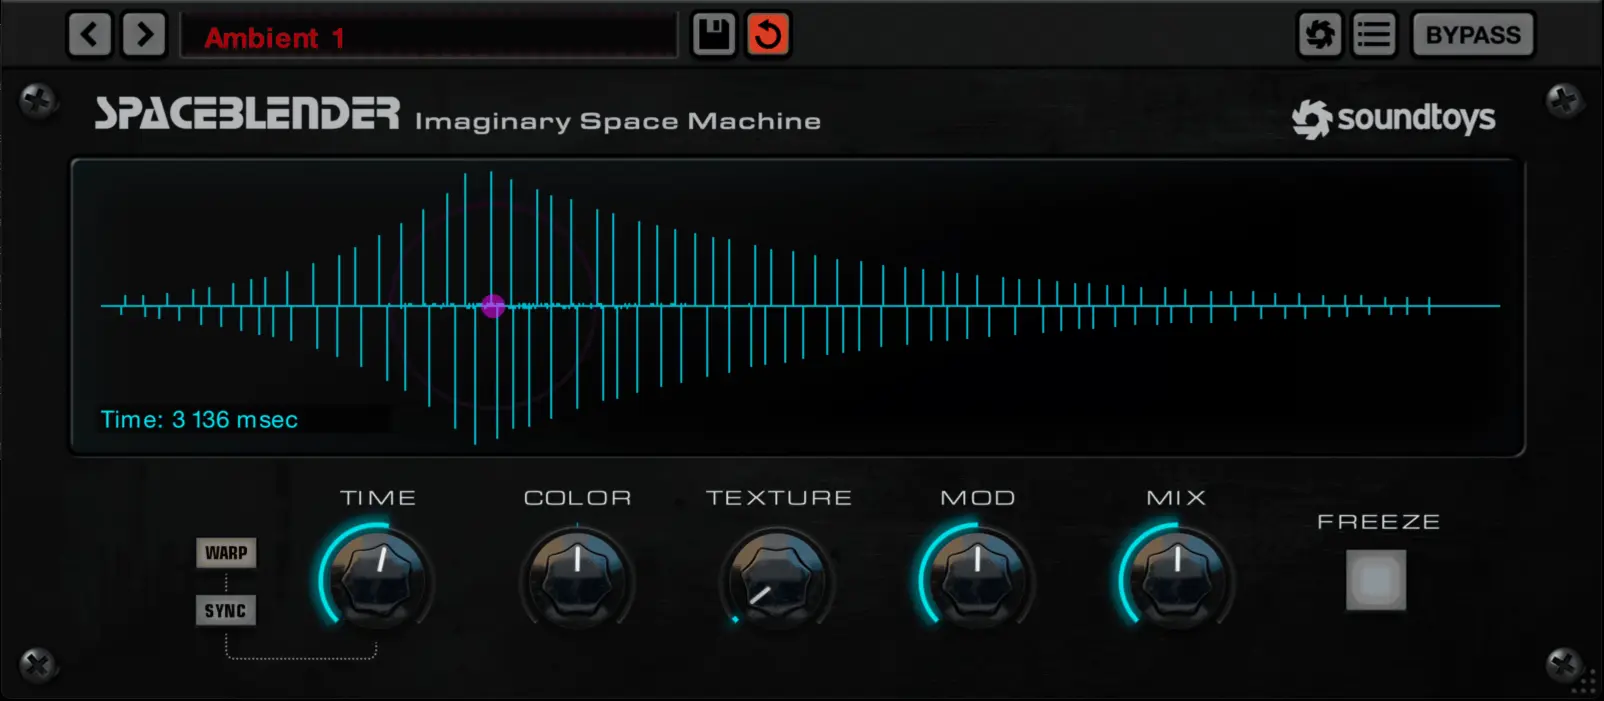
- Space & depth: Valhalla plugins, Blackhole, Spaceblender, BEAM
- Problem solvers: smartEQ, Gullfoss, Basslane
- Atmos tools: Dolby Atmos Composer, Sound Particles tools, Spacelab
- Ableton Live native instruments like Drift, Meld and especially their Sampler, Luv it!
They’re tools — not identity statements.
Mixing & mastering: fast and honest
Mixing and mastering happens in Reaper.
For years I’ve relied on iZotope Ozone, Neutron, Gullfoss, and similar tools. They work, and I know them well.
Lately I’ve been testing Finalist by Tim Exile. It hits a sweet spot for me:
- Fast
- Focused
- Less second-guessing
- Gets me where I want quickly
I am working on a blog post about this great mixing/mastering software.
Why fix what isn’t broken?
Ableton Live 12.3 has also eased some long-standing pain points — Bounce to New Track alone is a big deal. Add Max for Live into the mix, and Live has become even more powerful creatively.

Final thoughts
This setup isn’t final. It probably never will be.
But right now, it helps me do the one thing that matters:
👉 Turn ideas into finished music without getting in my own way.
If reading this makes you rethink even one part of your own workflow — that’s a win in my book.
Merry Xmas and a Happy New Year to all of you, whereever you are.