My personal musical style doesn’t yield for limiting and clipping. But lately I have been doing some very loud mixes for an artist in the EDM scene, and thus I began looking into clipping as a brilliant tool for loudness control. So I thought why not make a post about it and share some knowledge.
Preventing audio clipping while maintaining your mix’s sound quality isn’t rocket science, but it does require a few essential tactics. Use clipper plugins and limiters on your master track to trim peaks, control distortion, and create headroom. Remember, proper gain staging—setting track levels to prevent clipping—is your best friend. And let’s not forget to handle those pesky intersample peaks with peak-limiting techniques. It’s all about balancing volume and clarity to avoid that distortion gremlin. It may sound complex, but it’s a journey well worth the effort. Stick with it because there’s a whole lot more to grasp!

Key Takeaways
- Use clipper plugins and limiters to control peaks and prevent distortion in your mix.
- Employ proper gain staging techniques to balance volume and clarity without causing clipping.
- Set a limiter on the master fader at -0.1dB to avoid clipping in the final mix.
- Monitor and manage intersample peaks to maintain sound quality during digital-to-analog conversion.
- Balance track volumes and use automation wisely to ensure each instrument contributes harmoniously without dominating the mix.
Understanding Audio Clipping
To truly master your mix, you need to understand audio clipping, a common issue that occurs when the signal level surpasses the maximum capacity, leading to harsh, distorted sound artifacts. You’ve likely experienced this – turning a song up too loud and hearing a crackling noise. That’s clipping. It’s a rebel without a cause, breaking the rules of your audio file’s limits.
In the world of digital clipping, the distortion is irreversible. Once your audio waveform is damaged, it’s damaged for good. It’s like a wild horse you can’t tame. But fear not, you’ve got a secret weapon: gain staging. By managing the levels of your audio tracks, you can keep that horse in check, preserving the integrity of your sound.
And here’s where it gets exciting: you’ve got a limiter on your master. Think of it as your audio’s guardian angel, protecting your mix from those unruly peaks that can cause distortion. With the right tools and knowledge, you’re not just avoiding clipping, you’re mastering it. So, saddle up and take control of your audio journey. The freedom of perfect sound is yours for the taking.
Tools for Controlling Clipping
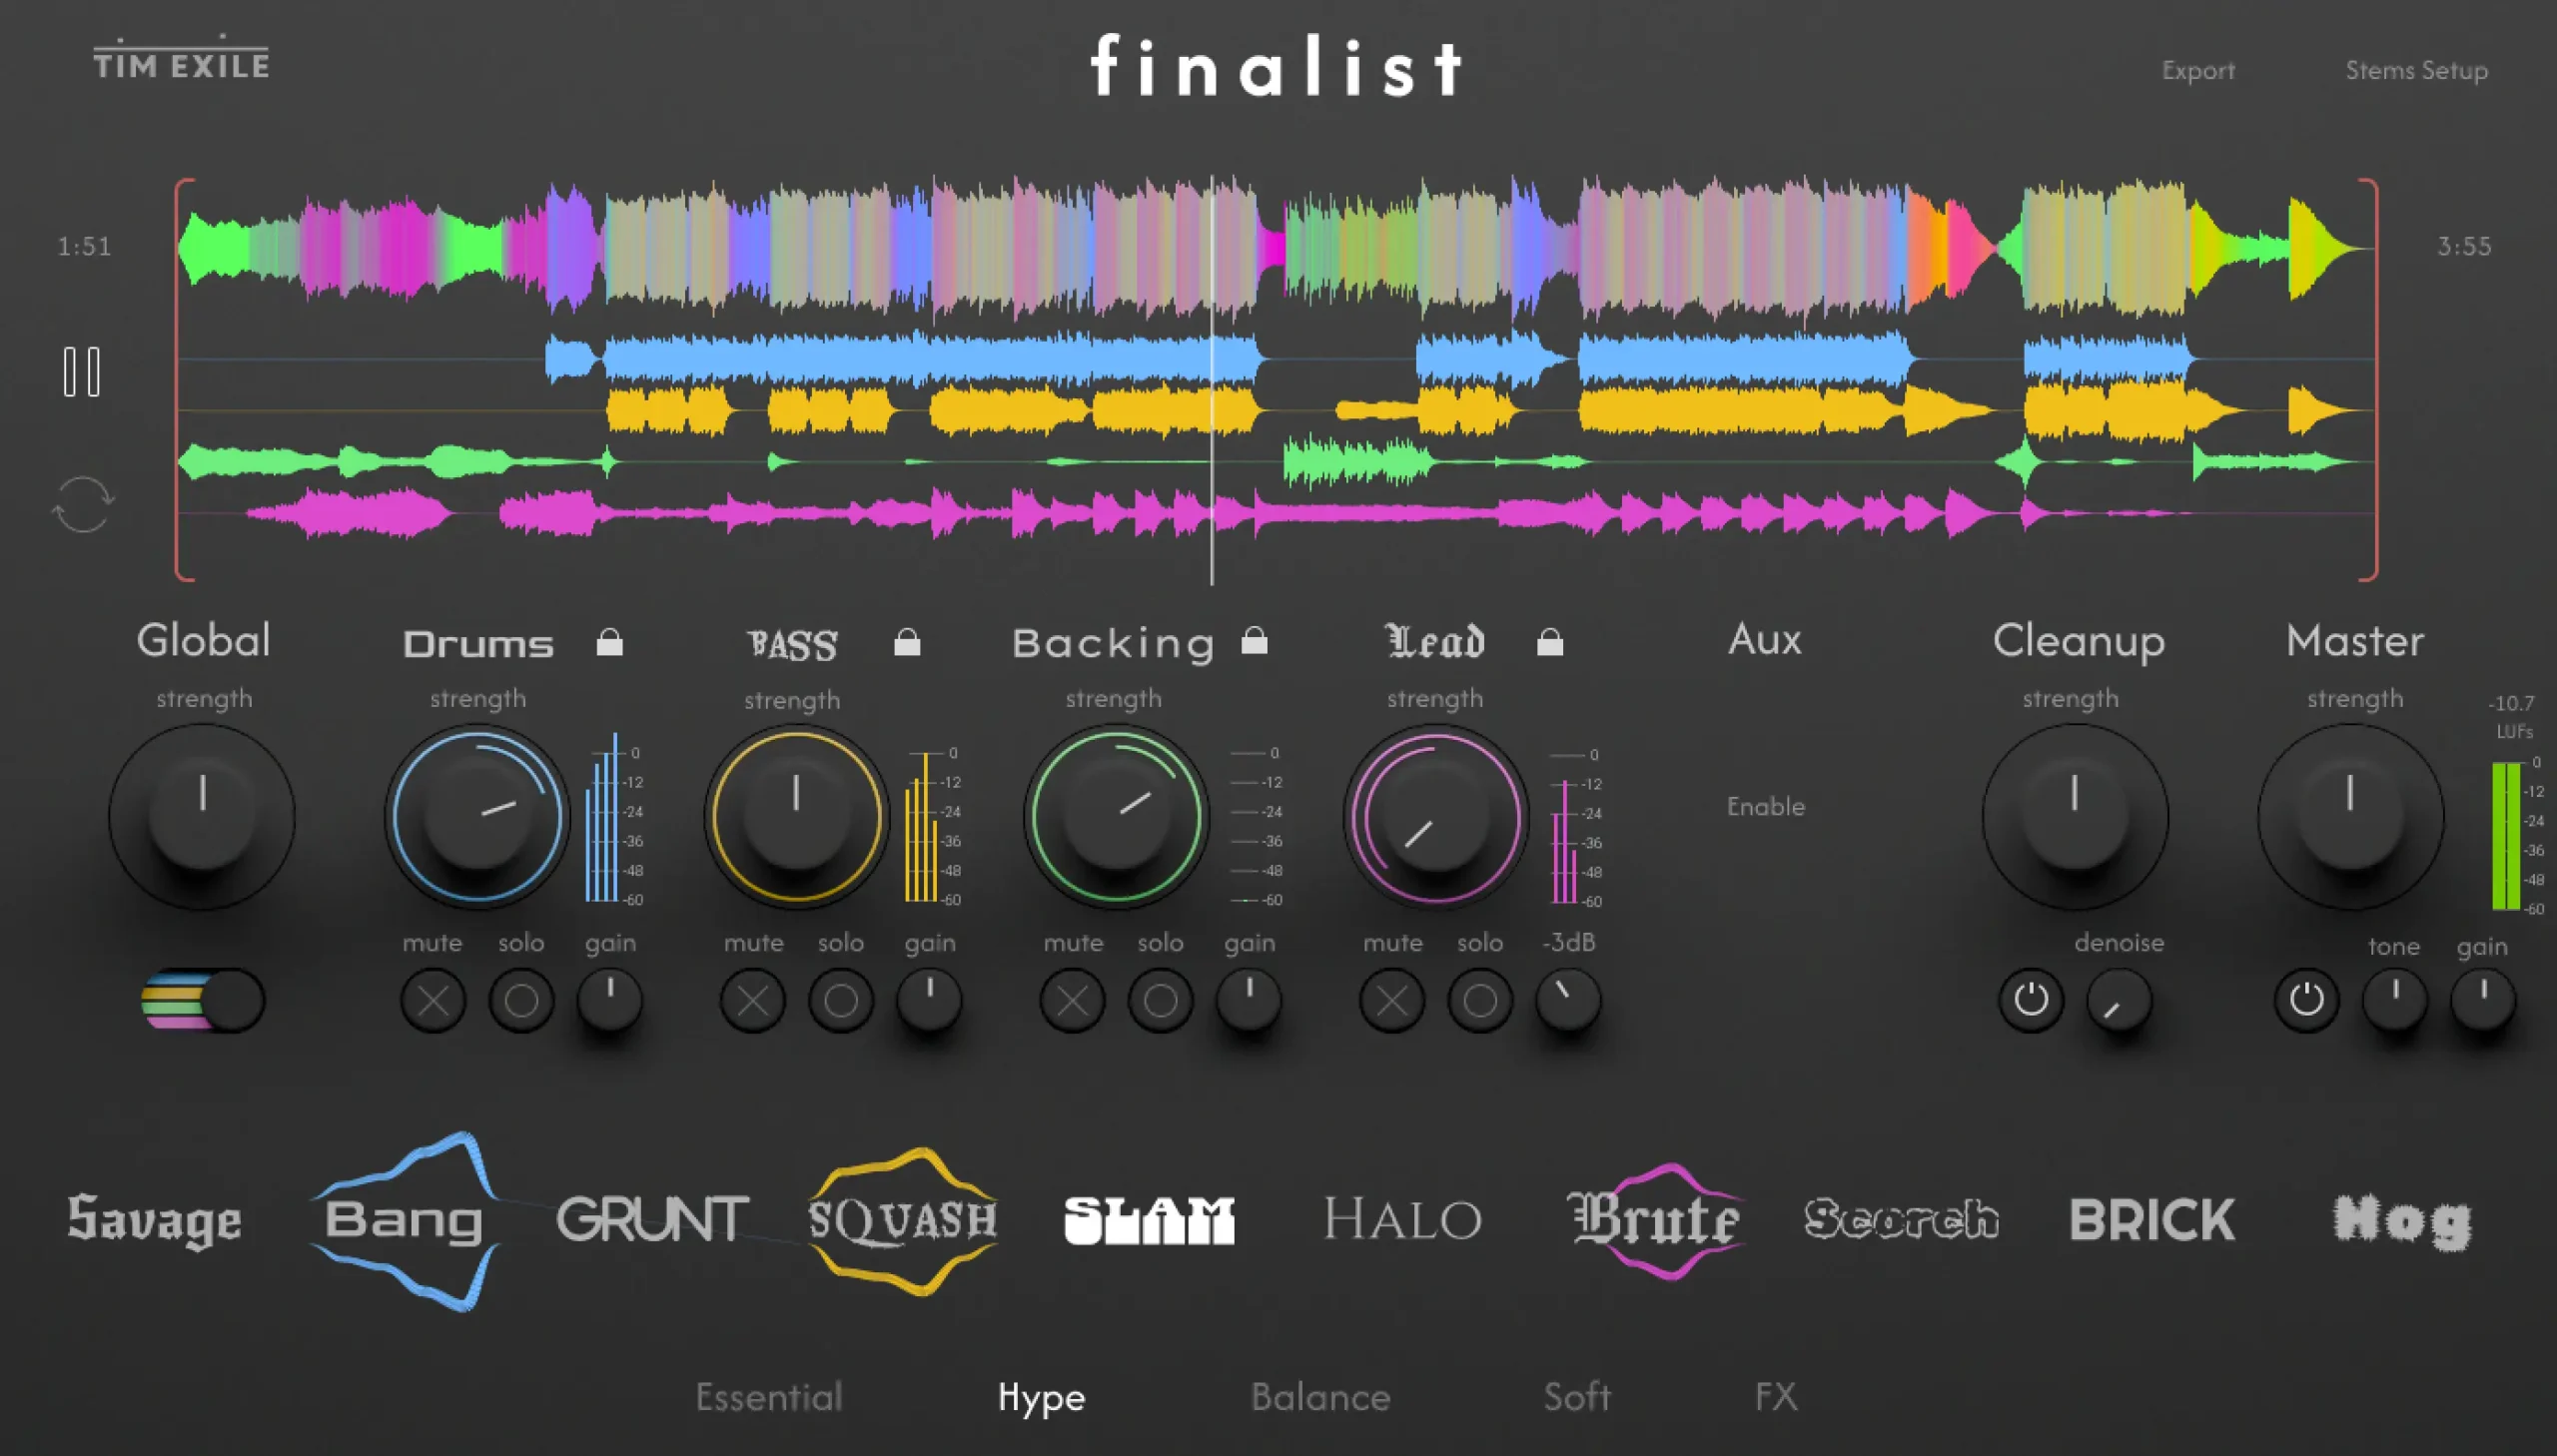
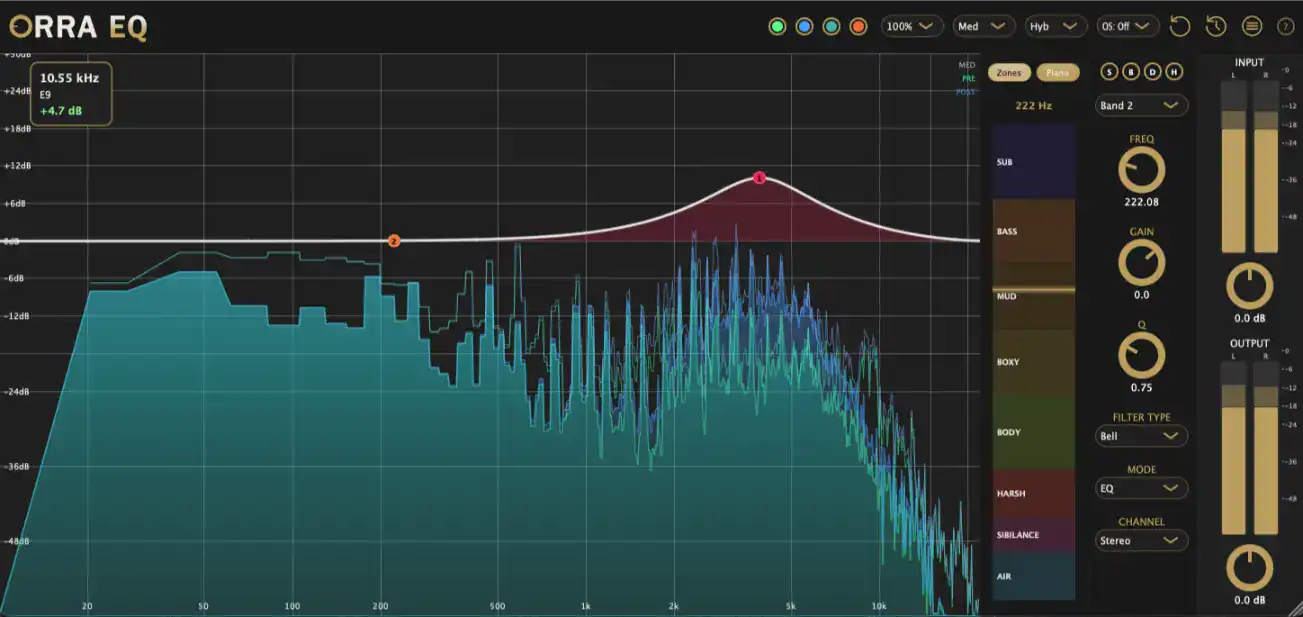
When it comes to controlling clipping, tools like clipper plugins, limiters, and proper gain staging techniques are your best allies. These tools help you achieve a loud mix without destroying the sound.
For instance, the use of clipper plugins, such as Gclip, can aid in trimming peaks and managing clipping in your mix. Start your processing chain with a clipper to maintain headroom and control peaks early.
Proper gain staging is key to prevent clipping without sacrificing sound quality. By closely monitoring levels and addressing intersample peaks, you maintain a mix that is both dynamic and undistorted.
Don’t forget to put a limiter on your master fader. Setting it at -0.1dB is a good starting point to avoid clipping in the final mix.
Let’s take a quick look at some tools and their uses:
| Tool | Use |
|---|---|
| Clipper Plugin | Trims peaks and controls clipping |
| Limiter | Prevents clipping in the final mix |
| Gain Staging | Balances volume and clarity |
The Role of Limiters and Clippers
Understanding the role of limiters and clippers in your mix is essential for achieving a polished, loud sound without the risk of distortion. Limiters, your defensive line against clipping, set a ceiling for your mix, typically around -0.1dB. They’re like the guardians of your master bus, keeping the sound loud but preventing it from getting too loud and distorting.
Clippers, on the other hand, are your offensive line. They trim the peaks in audio signals, creating more headroom and keeping distortion at bay. They’re the unsung heroes in your mix, often the first plugin in the processing chain, controlling peaks effectively.
But remember, these tools aren’t a free pass to loudness. You’ve got to manage your gain staging with care. Overuse of limiters and clippers can lead to a squashed, lifeless mix. So, it’s a balancing act.
Limiters and clippers, when used correctly, can give you the freedom to push your mix to the limit while maintaining its integrity. Be mindful of their power, and you’ll master the art of clipping your mix without destroying the sound.
A collection of free and paid Clipping plugins
- SIR Audio Tools Standard Clip High-quality clipping, oversampling, mix control, advanced metering.
- TDR Limiter 6 GE Clipper Module Versatile clipping options, advanced metering, dynamic compression.
- Brainworx bx_limiter Transparent clipping, oversampling, L/R and M/S mode, integrated saturation.
- Submission Audio Flatline A clipping plugin with proven methods to minimize harshness and enhance music.
- Boz Little Clipper A plugin that combines clipper and tube saturation stages for creative processing.
- GClip Offers transparent clipping with different oversampling modes.
- FreeClip A free clipping plugin known for generating the least artifacts.
- Acustica Audio Ash and Fire the Clipper A top-ranking clipper with unique features like post-clipping gain reduction.
- Boxtone Linear Phase EQ Mimics hardware response curves and offers loudness-boosting gain reduction.
- GoldClip Features Lavry converter clipping simulation and tape-style saturation.
- Newfangled Saturate Spectral Clipper with some advanced features and different approach.
- BSA Clipper A very simple and intuitive clipper.
- HoRNet Planer High quality audio clipping tool that provides precision control over the clipping process.
Gain Staging Techniques
Proper gain staging is your roadmap to a polished, distortion-free mix, setting ideal levels for each track to keep clipping at bay. This gives you the freedom to craft a mix that’s loud, clear, and devoid of clipping whatsoever.
To begin with, make sure that each track’s level isn’t too high, preventing distortion in the master channel. You should also make certain that the sum of all track levels isn’t causing the master channel to clip.
Here’s a simplified guide to using gain staging techniques:
| Technique | Purpose | Impact |
|---|---|---|
| Set Ideal Levels | Prevents clipping at the track level | Clean, clear sound |
| Monitor Levels | Checks for distortion in master channel | Balanced mix without clipping |
| Adjust Plugin Levels | Controls overall gain | Prevents clipping and maintains sound quality |
| Utilize Headroom | Leaves space between signal level and 0 dBFS | Ensures dynamic and distortion-free mix |
Addressing Intersample Peaks
Often overlooked, intersample peaks can sneakily cause distortion during the conversion of your digital audio to analog. These little devils, appearing between your sample points, can wreak havoc on your sound quality if left unchecked.
Don’t let them dictate your audio’s destiny. Instead, wield the power of peak-limiting techniques to keep them in line. By actively monitoring and managing these intersample peaks, you’ll maintain a clean, distortion-free audio signal that won’t let you down in the final mix.
Leaning into the freedom that knowledge offers, let’s dive a bit deeper. Understand that these intersample peaks are like audio gremlins. They’re not part of the original digital audio, but they show up uninvited during conversion to analog. It’s your job to keep an eye out for them and show them the door before they crash your audio party.

Balancing Volume and Clarity
Achieving a harmonious balance between volume and clarity in your mix is no small feat; it demands astute attention to track volumes, a keen ear for dynamics, and a deft hand at using automation to prevent sudden peaks that could lead to clipping.
Imagine your mix as a stage where every single instrument has its own spotlight. Your task is to guarantee that no one steals the show.
Now, if the master still clips, don’t panic. It’s a sign that you need to check everything else. Maybe, there’s a track that’s too loud or an element that’s too quiet. It’s all about finding balance and maintaining your mix’s integrity without losing its dynamism.

Keep these pointers in mind:
- Avoid letting a single instrument dominate your mix.
- Adjust volumes based on each track’s role to retain balance.
- Use automation wisely to control sudden volume changes.
- Always keep an eye on the relationship between volume and clarity.
Maintaining Sound Quality in Mixing
While you’re ensuring that no instrument is overpowering your mix, it’s equally important to contemplate how to maintain sound quality throughout the mixing process. This beginners guide will help you master this skill. You see, proper gain staging is your first line of defense. It’s about managing levels to prevent unwanted distortion.
Keep a close eye on your intersample peaks. Adjust your levels accordingly to nip any potential clipping issues in the bud during the mixing and mastering stages. This isn’t about suffocating your mix, but rather granting it the freedom to breathe, to retain its dynamics and engagement.
Don’t shy away from using a limiter on your master fader. A subtle reduction in peak levels can preserve your mix dynamics while effectively controlling clipping. It’s a delicate balance, but one you’ll master with practice.
Consistency in track level adjustments and an optimized workflow create more headroom, reducing the risk of clipping. Maintain quality and consistency to achieve a polished mix without sacrificing sound integrity. Remember, you’re not just mixing, you’re crafting a sonic experience.
Keep pushing those audio boundaries!