
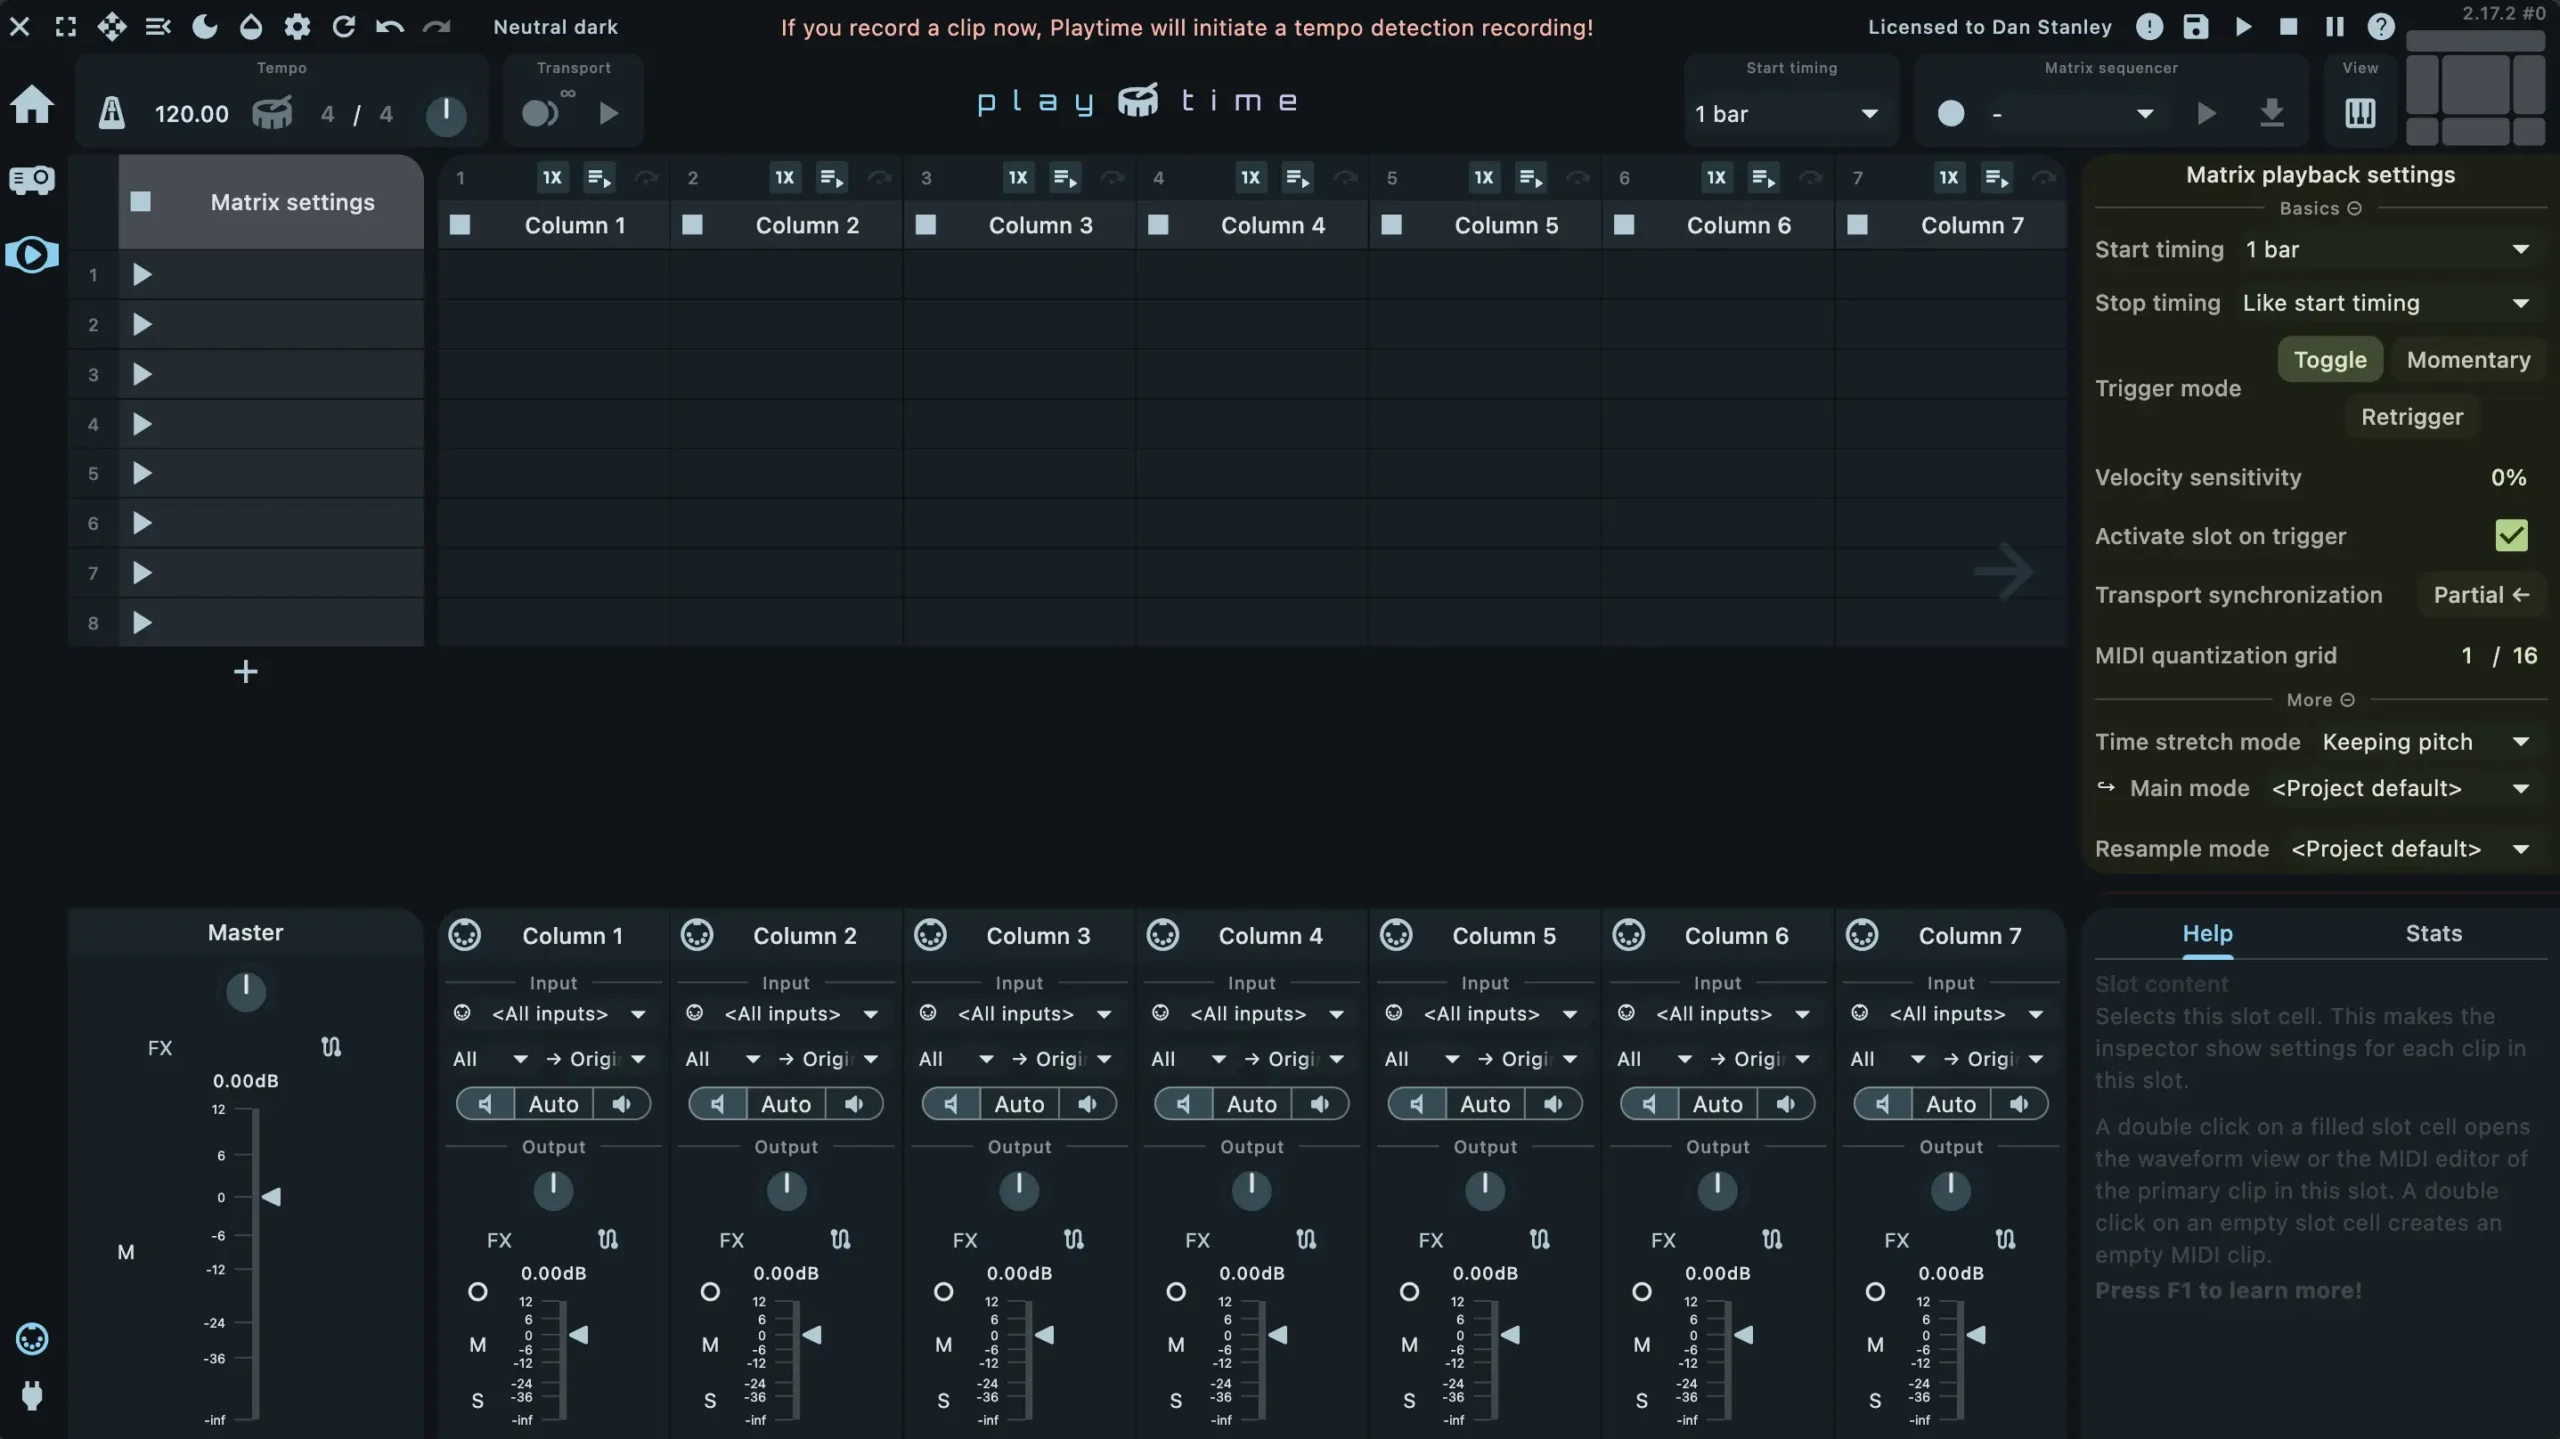
Playtime 2 adds a session view and audio/MIDI clip launcher to REAPER through Helgobox. It supports jamming, live looping and arrangement sketching inside a REAPER project.

From clips to an arrangement
Record or import clips, group them into scenes and try different combinations. Capture a performance with the matrix sequencer, then export it to REAPER’s arrangement view.
For a first session, keep the idea small. Try a drum loop, a bass phrase and two versions of a chord part. Switch between the chord clips while the rhythm keeps playing, then listen for the combination that deserves a full arrangement. This gives the experiment a clear purpose and leaves fewer decisions for later.
My experience with REAPER and Ableton Live
I have used REAPER alongside Ableton Live for years. On my PC, Live’s CPU use once led me to work in REAPER with Playtime 1 instead. That setup gave me a more efficient workflow on that machine.
After switching to a Mac M2 Pro and returning to newer versions of Live, Ableton became my main DAW again. REAPER still has a place in my setup, and Playtime 2 makes its clip-based workflow worth exploring further. My earlier experience with Playtime 1 is the reason this tool caught my attention.

How it compares with Ableton Live
The familiar clip grid is the starting point for the comparison. Playtime works within REAPER, while Live’s Session View is part of a complete DAW. Playtime does not reproduce every Live feature.
For me, the useful question is where I want to finish the track. If the project is already in REAPER, experimenting with its existing sounds there can keep the session focused. If I start in Live, I can develop the idea in the environment I already use. See my Ableton Live 12 guide for more on that workflow.
Interface and hands-on control
The interface offers scaling, full-screen mode and themes. Controller integration is powered by ReaLearn, with support depending on the device and configuration.
Before relying on a controller in a performance, rehearse the actions you need most. Launching a clip, stopping it and recovering from an unwanted trigger should feel predictable. Start with a small set of clips and expand only when you can navigate it comfortably.

Installation and evaluation
Install Helgobox using the official Playtime download and installation instructions. Windows 10+ and macOS 12+ are listed requirements. Linux is supported with restrictions. Open Playtime from the Helgobox menu or toolbar.
The free evaluation disables saving and loading. A full Playtime 2 licence removes that restriction. Check the developer’s current requirements and licence terms before installing or buying.
A useful way to try it
Use a copy of a small project you know well. Choose a few contrasting parts, build a short performance and listen back before adding more material. The test is whether the clip grid helps you make arrangement decisions you would otherwise postpone.
The screenshots and videos show the workflow and give you a starting point for exploring the controls. For installation help and the current feature set, use the official Playtime documentation and product page.
My view on Playtime 2
My experience with REAPER and Playtime 1 is what drew me to Playtime 2. A clip launcher inside REAPER is useful when I want to explore an arrangement without moving the project to another DAW.
Try it with a small project and the controller you actually use. That will tell you more about its place in your workflow than a long feature list.


