
Welcome to part 2 in the series of using compression in your electronic music production.
In this second part, we will take a look at the more advanced features and use of compression in your music production, like Sidechain, multi and parallel compression. So lets dive in.
Advanced Techniques with Compressor Plugins
Compressor plugins offer a wealth of creative possibilities beyond basic dynamic control. In this section, we will explore some advanced techniques to take your electronic music productions to the next level.
Sidechain Compression
Sidechain compression is a popular technique used extensively in electronic music production. It involves triggering the compressor on one track using the audio signal from another track. This creates a rhythmic “pumping” effect and helps elements of the mix sit well together.
- Creating a Pumping Effect: To achieve a pumping effect, typically applied to the bassline or other elements conflicting with the kick drum, route the kick drum audio signal to the sidechain input of the compressor on the bass track. Adjust the threshold, ratio, attack, and release settings to control how strongly the bass is compressed in response to the kick drum hits.
- Enhancing Mix Cohesion: Sidechain compression can also be used more subtly to make various elements of the mix blend together better. For example, sidechain compressing pads or synths with a ghost kick signal can create space for the kick drum while maintaining their presence in the mix.
Parallel Compression
Parallel compression, also known as New York compression, involves blending a heavily compressed signal with an uncompressed signal. This technique allows you to retain the dynamics of the original signal while adding weight and intensity to specific elements.
- Setting Up Parallel Compression: Duplicate the track you want to compress and apply heavy compression settings on one version while leaving the other uncompressed. Adjust the levels of both tracks until you achieve a desirable balance between dynamics and added impact.
- Blending Compressed and Uncompressed Signals: Use the fader or mix knob on your parallel compression setup to control the balance between the compressed and uncompressed signals. This allows you to dial in just the right amount of compression without sacrificing transients or dynamics.

Multiband Compression
Multiband compression enables independent compression on different frequency bands, allowing you to control dynamics in specific areas of the mix. This technique is especially useful for addressing frequency-specific issues and achieving a more balanced overall sound.
- Understanding Multiband Compression: Divide the audio signal into different frequency bands using a multiband compressor plugin. Set the compression settings for each band individually to target specific frequency areas that require dynamic control.
- Addressing Frequency-Specific Issues: Use multiband compression to tame harsh or resonant frequencies, control excessive low-end energy, or even out dynamics in specific frequency ranges. Experiment with different compression settings on each band to achieve a more balanced and controlled mix.
By incorporating these advanced techniques into your electronic music production workflow, you can elevate your mixes to new heights of creativity and impact.
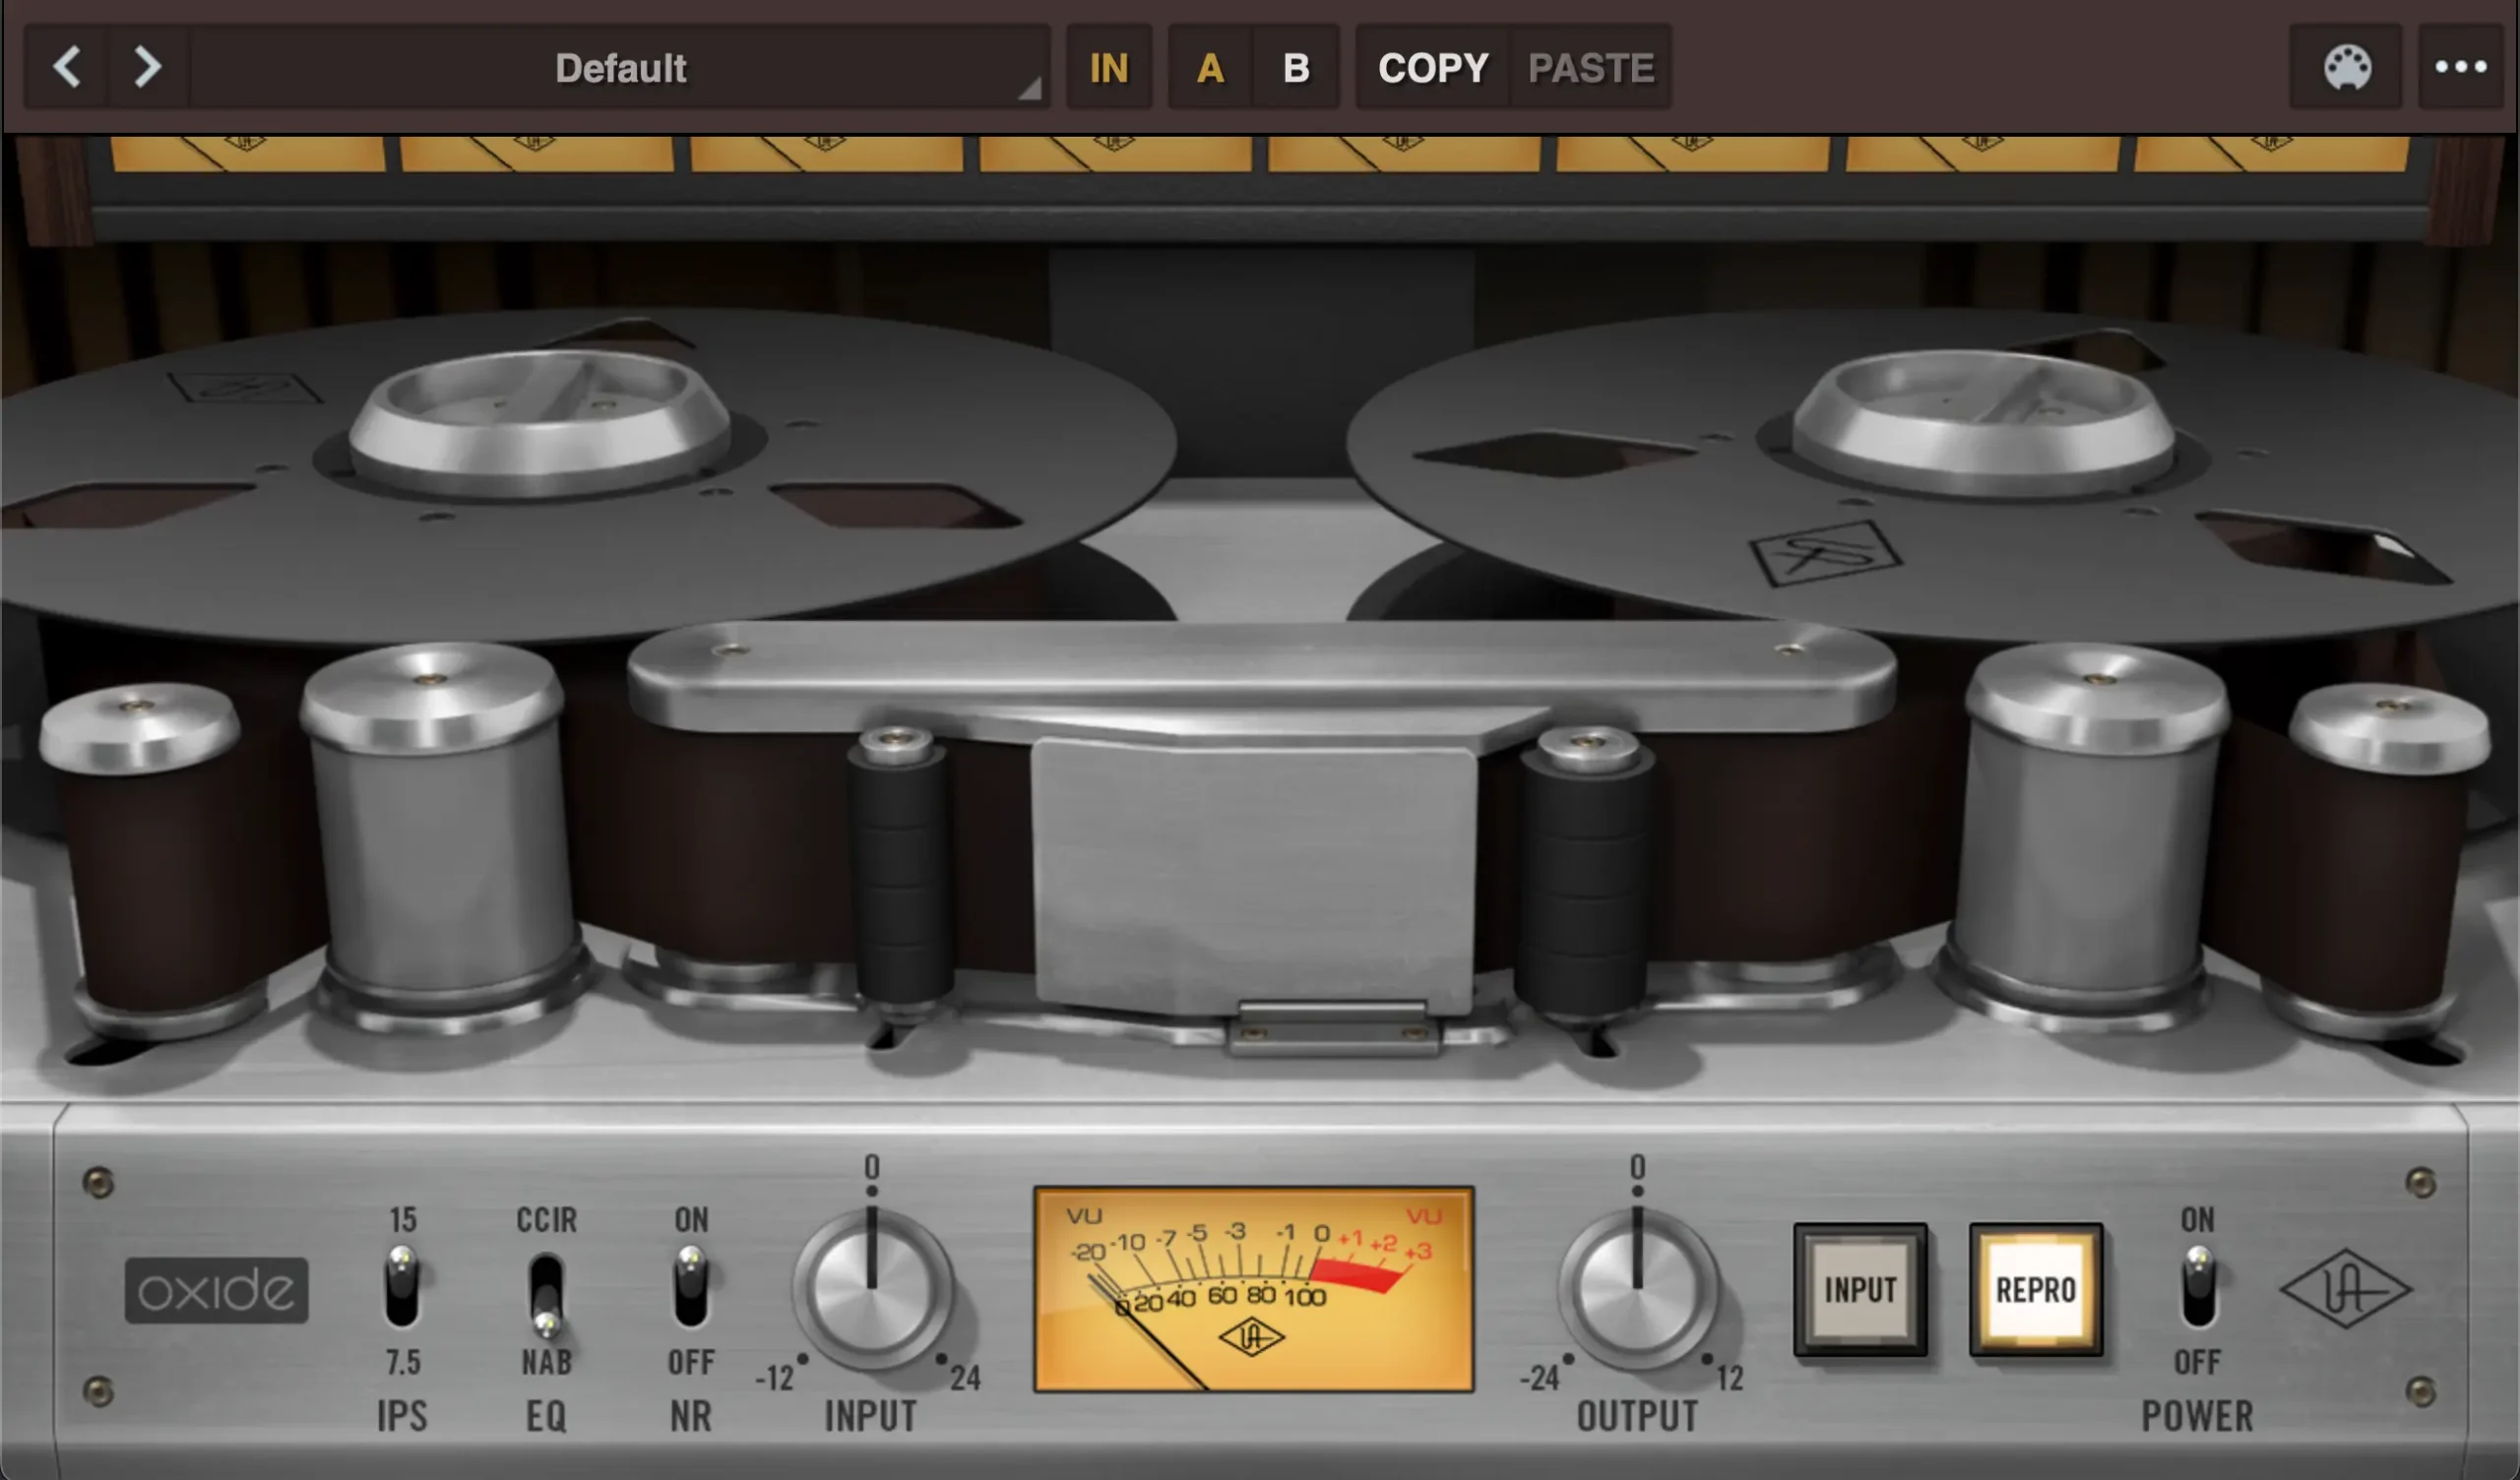
My prefered Compressor plugins:
- Drawmer S73 plugin from Softube, Multiband compressor with great sound in asimple interface.
- HorNet Multicomp Plus MK2, which has VCA, FET and Opto features.
- Sonimus Tuco, a very simple analog style glue compressor.
- TDR Kotelnikov, a quiet advanced solution and its own sound. Available as a free version here at TDR, https://www.tokyodawn.net/tdr-kotelnikov/
- Ableton Glue Compressor. Always great for gluing tracks together.
- Sonible SMART Compressor 2 : one of the never AI based solutions, that provides some great options.

Tips and Best Practices for Using Compressor Plugins
Using compressor plugins effectively requires not only technical knowledge but also an understanding of the creative possibilities they offer. In this section, we will share valuable tips and best practices to help you make the most out of your compressor plugins in modern electronic music production.
Gain Staging and Pre-processing
Proper gain staging is crucial when using compressors. Ensure that the input signal level hitting the compressor is appropriately balanced, neither too hot nor too low. Avoid excessive clipping or weak signals, as they can affect the performance and effectiveness of the compressor. Consider using gain automation or pre-processing techniques like EQ or saturation to optimize the signal before it enters the compressor.
Setting Makeup Gain
After applying compression, the overall level of the signal may be attenuated. To maintain a consistent balance within the mix, use makeup gain to boost the compressed signal back to its original level. Be cautious not to overdo it, as excessive makeup gain can introduce unwanted artifacts or cause further issues in the mix.
Subtle Adjustments for Transparency
Sometimes, less is more when it comes to compression. Applying subtle compression settings can often provide a more transparent result, maintaining the natural dynamics of the audio while still achieving control. Avoid going for extreme settings unless it serves a deliberate creative purpose.
Experiment with Different Compressor Models
Different compressor plugins emulate various hardware units with unique sonic characteristics. Don’t limit yourself to just one compressor plugin—explore different models to find those that best suit your needs and taste. Each compressor plugin can bring a distinct color or vibe to your mix, allowing you to achieve specific sonic qualities or match different genres.
Listen and Trust Your Ears
While guidelines and recommended settings can be helpful starting points, ultimately, your ears should be the final judge. Every track and mix is different, so trust your intuition and listen carefully to the changes introduced by the compressor. Make adjustments based on what sounds best for the specific context and musical style you’re working with.
Practice and Experimentation
Using compressors effectively is an art that takes time to master. Regular practice and experimentation are key to developing your own unique approach. Try out different combinations of settings, explore unconventional techniques, and analyze how professional mix engineers apply compression in their work. The more you experiment, the more you’ll discover your own signature sound.
By following these tips and best practices, you’ll be well on your way to using compressor plugins with confidence and creativity in your electronic music productions.
I hope this guide helps you better understand and use compression in your music production.
Now go create some badass sound :-)